Floods are disruptive and dangerous, but prompt, organized action can dramatically reduce health risks, prevent mold, and speed up your claim and repairs. Use this step‑by‑step checklist as soon as authorities say it’s safe to return.
1) Start your insurance claim
Notify your flood insurer or agent as soon as you confirm flood damage, and file a written Notice of Loss promptly as required under NFIP policies. Document everything before cleanup: take wide shots and close‑ups of waterlines, damaged contents, and building materials, and keep receipts and a log of all conversations. If covered by the National Flood Insurance Program, be prepared to submit a signed Proof of Loss—generally within 60 days—along with a contractor’s detailed estimate, unless FEMA grants an extension.
2) Protect yourself first
Re‑enter only after local officials say it’s safe; structural damage, live electricity, gas leaks, and contaminated water can create life‑threatening hazards. Cut power at the main if water is present, avoid using electrical appliances on wet floors, and wear PPE such as waterproof boots, gloves, goggles, and an N‑95 respirator. Assume floodwater is contaminated; avoid direct contact and wash hands often when handling saturated materials.
3) Get a qualified damage assessment
Arrange professional inspections for structure, electrical, HVAC, and gas lines; water can migrate into framing, insulation, drywall, subfloors, and mechanicals. Ask for moisture mapping with meters and thermal imaging to locate hidden intrusion and to set a clear mitigation plan and repair scope for your claim.
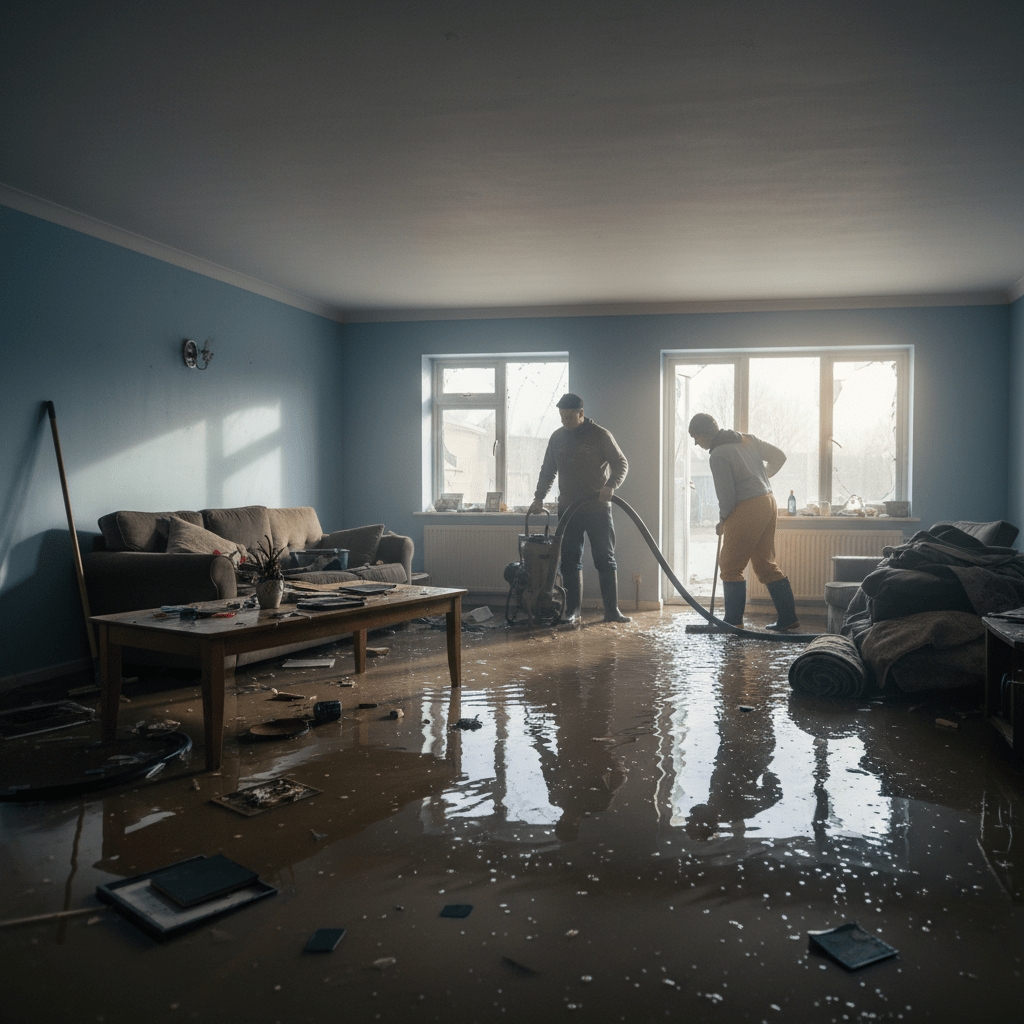
4) Begin cleanup within 24–48 hours
Start debris removal and cleaning as soon as the site is safe, because delays sharply increase mold risk and costs. Separate and stage contents outdoors when possible, bag contaminated debris, and keep photographic documentation as you go to preserve your claim record.
5) Dry and dehumidify aggressively
Aim to dry or remove wet building materials within 24–48 hours to limit mold growth, using air movers, dehumidifiers, and ventilation. Remove saturated porous items (carpet/pad, insulation, upholstered furniture, some drywall) that cannot be fully cleaned and dried quickly; cleanable non‑porous materials can often be disinfected and salvaged.
6) Control and remediate mold
Mold can start within 24–48 hours; address moisture first, then clean growth on hard surfaces using detergent or a diluted bleach solution with ventilation and proper PPE. Discard porous items with visible mold or sewage contamination, and follow size‑based guidelines—areas over 100 sq ft generally require trained remediation professionals and containment.
7) Plan and complete repairs
After drying and clearance, repair and rebuild to code, fixing all leak sources and considering flood‑hardening upgrades such as elevating utilities and using water‑resistant materials. Keep updated estimates, permits, and invoices aligned to the adjuster’s scope, and submit supplements with documentation if hidden damage is discovered during repairs.
Documentation tips that speed payment
-
Keep a dated diary of calls, emails, site visits, and directions from adjusters and contractors.
-
Photograph each room from multiple angles, then itemize damaged contents with age, model, and replacement cost.
-
Retain samples of flooring/drywall if requested and do not discard major items until documented.
Health and safety quick list
-
Ventilate: open windows/doors; use fans that exhaust to the outside, not to other rooms.
-
PPE: gloves, boots, goggles, N‑95, and skin protection; never mix bleach with ammonia.
-
Children, older adults, and those with asthma or immune conditions should avoid cleanup areas.
NFIP basics (if insured)
-
Start with your insurer; meet the adjuster; submit photos, inventories, and estimates; and file your Proof of Loss within policy deadlines unless extended.
-
Ask about partial payments/advances when eligible, and request deadline extensions in writing if needed for complex losses