Your kitchen is more than just a place to cook—it’s where life happens. From Sunday brunches to late-night snacks and heart-to-heart conversations, the kitchen is often the most lived-in room in the home. So, when it comes to renovating, it makes sense to start there. But let’s be real—kitchen remodels can get expensive fast, especially when it comes to custom cabinets.
Here’s the good news: you can have gorgeous, functional custom cabinets without draining your savings. Enter the world of DIY custom cabinet consultations—a smart, cost-effective approach that blends creativity, expert advice, and your own two hands.
In this guide, we’ll walk you through how to create the kitchen of your dreams by designing and installing custom cabinets yourself—without compromising on quality or style.
Why Custom Kitchen Cabinets Are Worth It
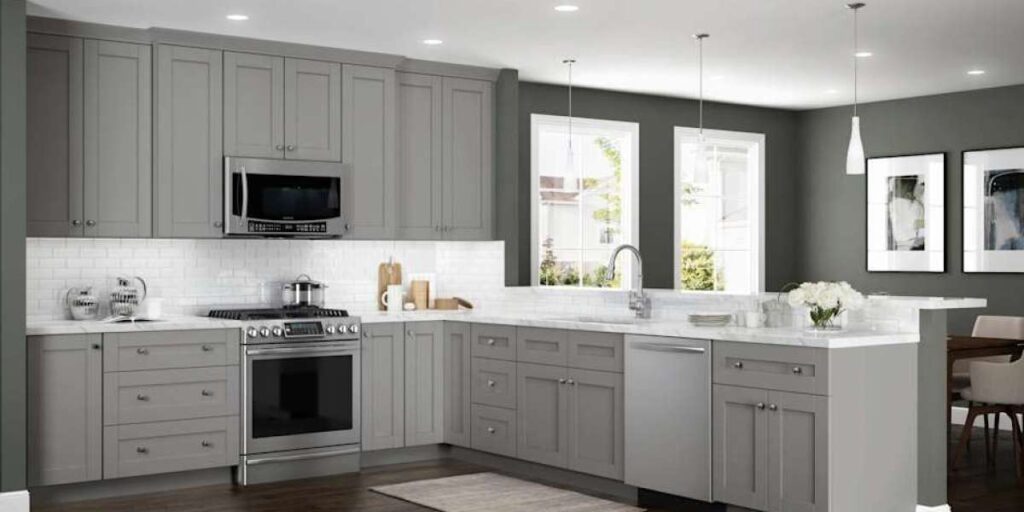
If you’ve been browsing Pinterest or Instagram for kitchen inspiration, you’ve likely seen the transformative power of custom cabinetry. Unlike stock options, custom cabinets are built to fit your space and lifestyle perfectly—think extra-deep drawers, open shelving, and finishes that match your exact aesthetic.
From maximizing storage to enhancing the overall flow and feel of your space, custom kitchen cabinets offer real, long-term value. Plus, they can dramatically increase your home’s resale value.
Curious about different cabinet types and styles? Check out this helpful kitchen cabinet guide for inspiration.
Step 1: Take a Good Look at Your Kitchen
Before you break out the tape measure, think about how you use your kitchen every day. Are you constantly short on drawer space? Do you need a designated spot for your baking tools? Maybe you want to display your dishware with glass-front cabinets?
Start by jotting down:
- The exact measurements of your space—walls, ceilings, and existing cabinetry.
- Your daily kitchen needs—cooking habits, storage issues, traffic flow.
- Your design vibe—modern, rustic, farmhouse, minimal?
This groundwork will make working with a cabinet design consultant that much easier.
Step 2: Book a DIY Custom Cabinet Consultation
Yes, you could piece together YouTube tutorials and wing it. But if you’re looking for a smoother ride, consider getting help from a pro. A DIY custom cabinet consultation is like having a personal coach walk you through the design and installation process—without paying a full-service contractor.
With this approach, you’ll get:
- A personalized cabinet layout based on your kitchen’s dimensions.
- Expert advice on materials, colors, and styles that fit your budget.
- Step-by-step guidance for building and installing your cabinets.
- Ongoing support if you hit a roadblock mid-project.
It’s a smart way to save money and avoid costly mistakes. Learn more or schedule your own DIY consultation here.
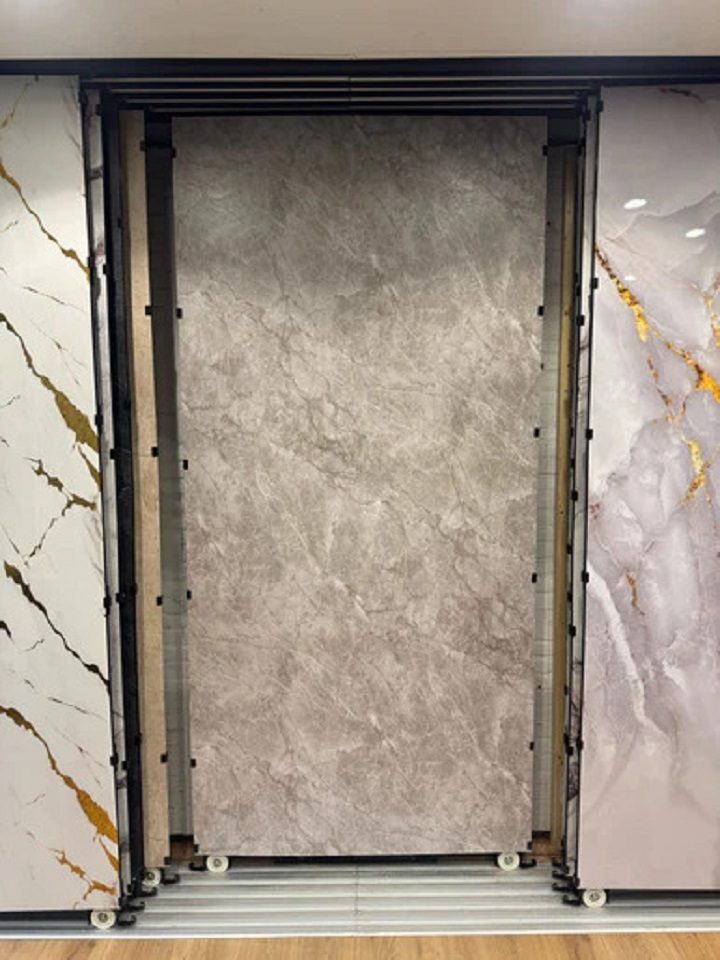
Step 3: Pick Materials and Cabinet Styles That Match Your Vision
Now comes the fun part—designing your dream cabinets. You’ll want to consider both aesthetics and practicality when choosing materials and finishes.
Popular Cabinet Materials:
- Solid wood – timeless, durable, and natural.
- MDF – smooth and cost-effective, great for painted finishes.
- Plywood – strong yet lightweight, ideal for cabinet boxes.
- Laminate – affordable and available in endless colors and textures.
Top Cabinet Styles:
- Shaker – classic with clean lines.
- Flat-panel – sleek and modern.
- Inset – traditional and elegant.
- Glass-front – perfect for displaying beautiful dishware.
Mix and match to suit your style—but always think about how your choices will hold up in a busy kitchen.
Step 4: Budget Smart and Set a Timeline
One of the biggest perks of a DIY custom cabinet project? You call the shots—and the budget. Start with a clear breakdown of costs:
- Materials and finishes
- Tools (drill, clamps, levels, screws)
- Hardware (hinges, pulls, knobs)
- Optional pro help for electrical or lighting work
Then, map out a realistic timeline. Depending on complexity, your project could take anywhere from a few weekends to a month or two. Be patient—it’ll be worth it.
Step 5: Prep for a Smooth Installation
By the time your custom pieces arrive, you should have your installation plan locked in. Here’s a quick checklist:
- Clear out old cabinets and prep your walls.
- Gather essential tools.
- Carefully follow the assembly instructions.
- Reach out to your consultant if you run into issues.
The goal? A professional-looking finish you’ll be proud to show off.
Step 6: Don’t Skip the Finishing Touches
Once everything’s installed, the final details will pull your kitchen together beautifully. Consider:
- Sleek or vintage cabinet hardware to reflect your personality.
- Soft-close hinges for a luxe feel.
- Under-cabinet lighting to highlight your countertops.
- Trim and molding for a built-in, custom look.
These touches can elevate even the most basic DIY setup into something that looks designer-level.
Final Thoughts: Your Dream Kitchen Is Closer Than You Think
Designing and installing custom kitchen cabinets might sound intimidating, but with the right planning—and the right support—it’s totally doable. By blending DIY effort with professional consultation, you can achieve a high-end, tailored kitchen space that works for your lifestyle and your wallet.
Ready to get started? Take the first step by checking out this DIY custom cabinet consultation guide and turn your kitchen vision into reality.